

Customize Invitations While Sending
Capturing attention is the key factor to increase the response count for your survey. It is crucial to customize email content, appearance, and options according to your audience and purpose.
It’s a great idea to prepare and save your email invitation within Email Templates before you start the publishing process. This gives you a chance to prep carefully, send Test Invitations for review, and ensure you’re good to go. Get a full picture of how to customize email invitations here.
As needed, you can also customize invitations during the publishing process to include any last-minute tweaks. Here’s how.
- Select your survey and click Publish.
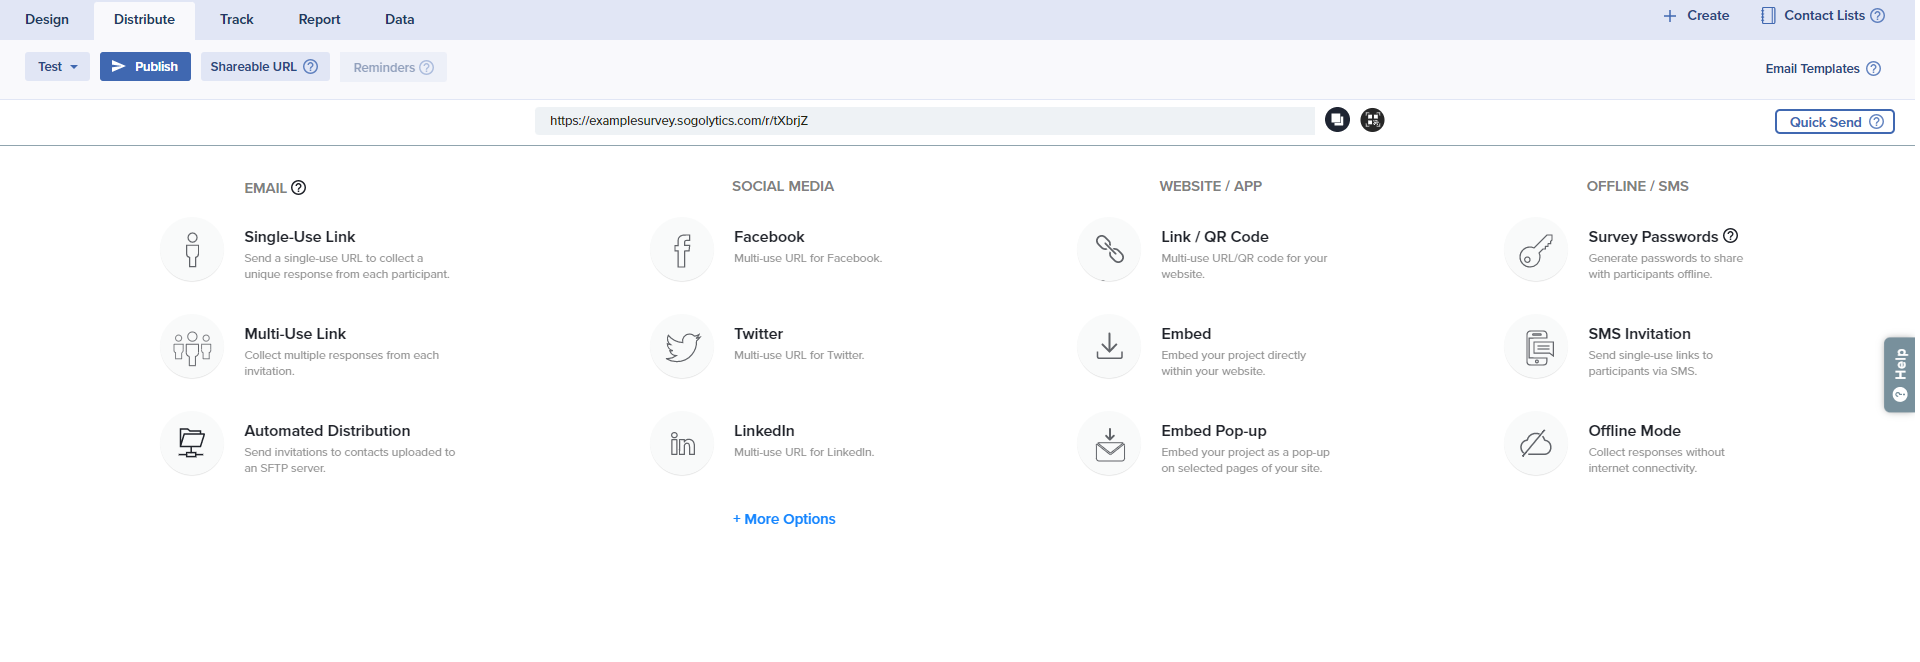
- Select Single-Use Link or Multi-Use Link under Publish by Email and proceed by clicking on Continue.
- The Select Email Message step displays the email templates created under Email Templates.
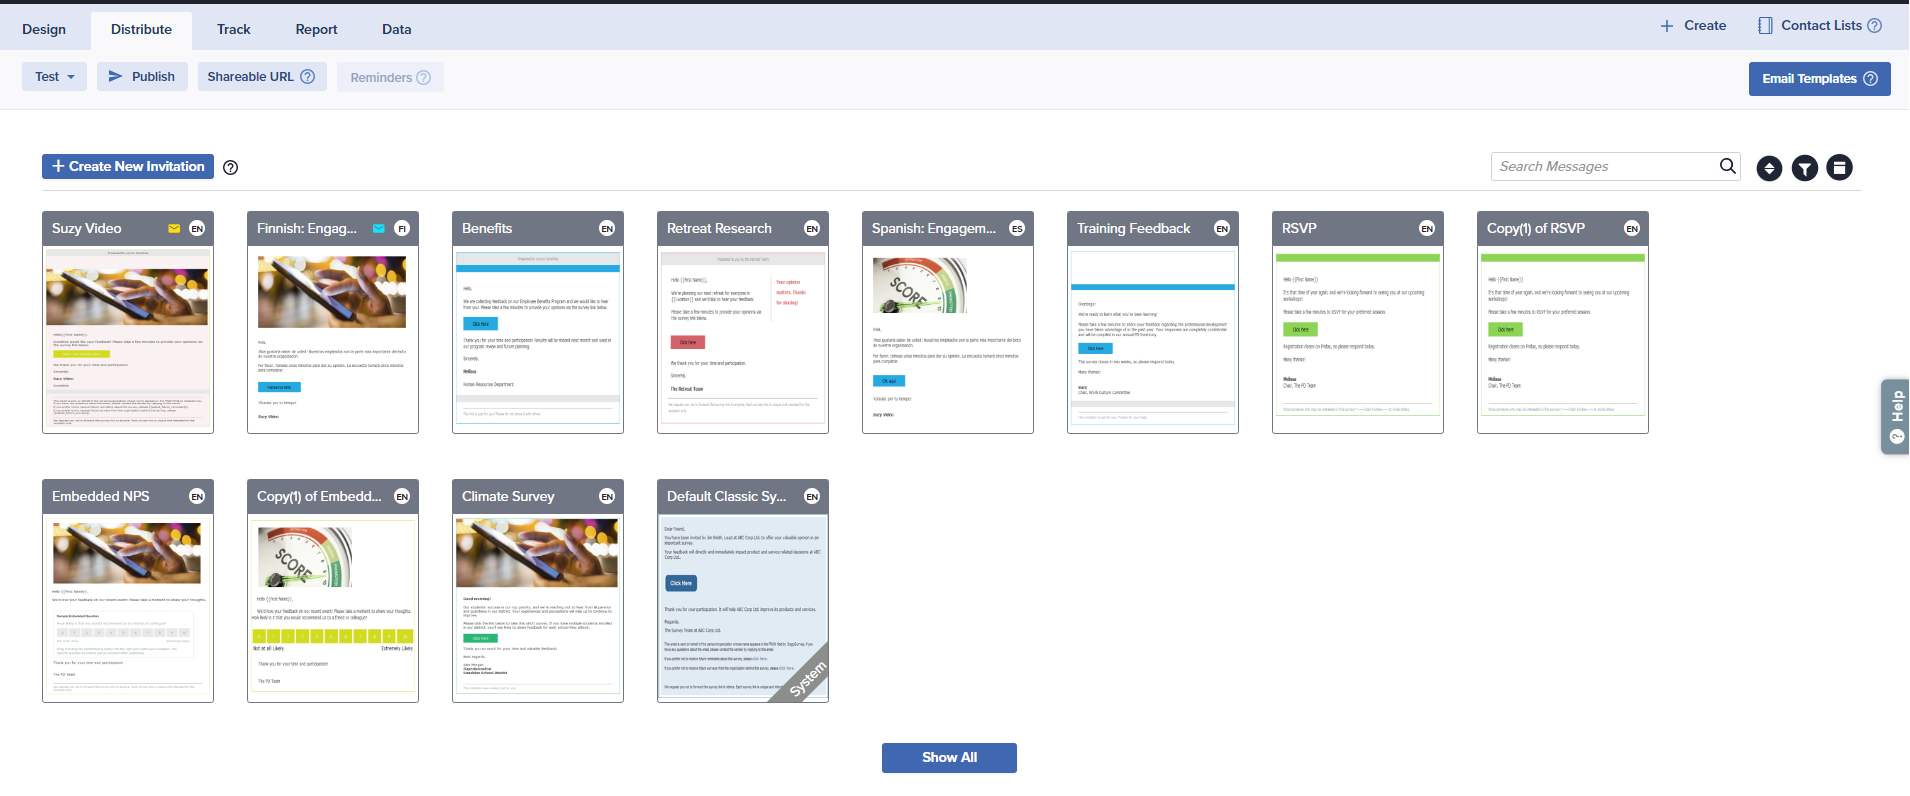
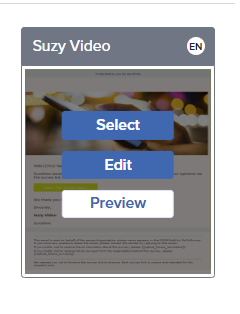
- Hover over your preferred message, then click on the Edit icon to customize the content of the message.
- Customize ‘inbox’ information by updating the content in the fields of the displayed preview.

- Sender Name: Enter the sender’s name. By default, this value will be the name on the account.
- Sender Email: By default, the Sender Email will use Sogolytics’s mail servers. We recommend you use this default address, as editing this field may cause delivery issues or classification as spam. To change the Sender Email, you will need to verify your email address and authenticate your domain.
- Reply-to Email: By default, this will be your account email address, but it can be edited to your preferred address for this survey.
- Subject: Enter the subject to describe your survey. Content should be short and simple. The maximum character limit for this field is 250.
- On the left-hand side, under the Header section, choose whether to include a BCC field. You can include one email address in the BCC field to receive a copy or copies of the sent invitations.
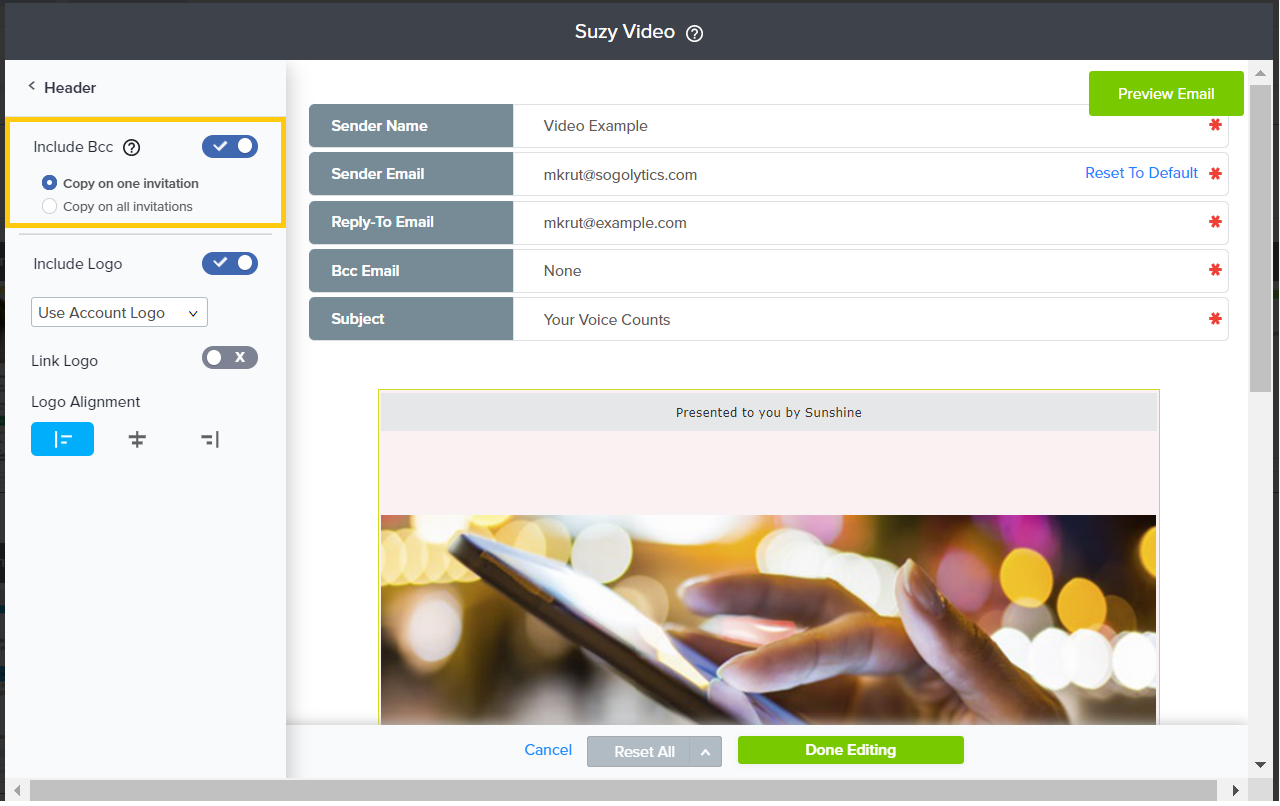
- Copy on one invitation: Selecting this option sends a copy of one single invitation to the email address in the BCC field.
- Copy on all invitations: Selecting this option sends copies of all invitations to the email address in the BCC field.
If you BCC yourself on an email invitation and access the participation link received in the copy, the email status will be updated accordingly within Track.
- Within the Header section, choose whether to include a logo. Logos add branding to your invitation and provide recognition for participants.
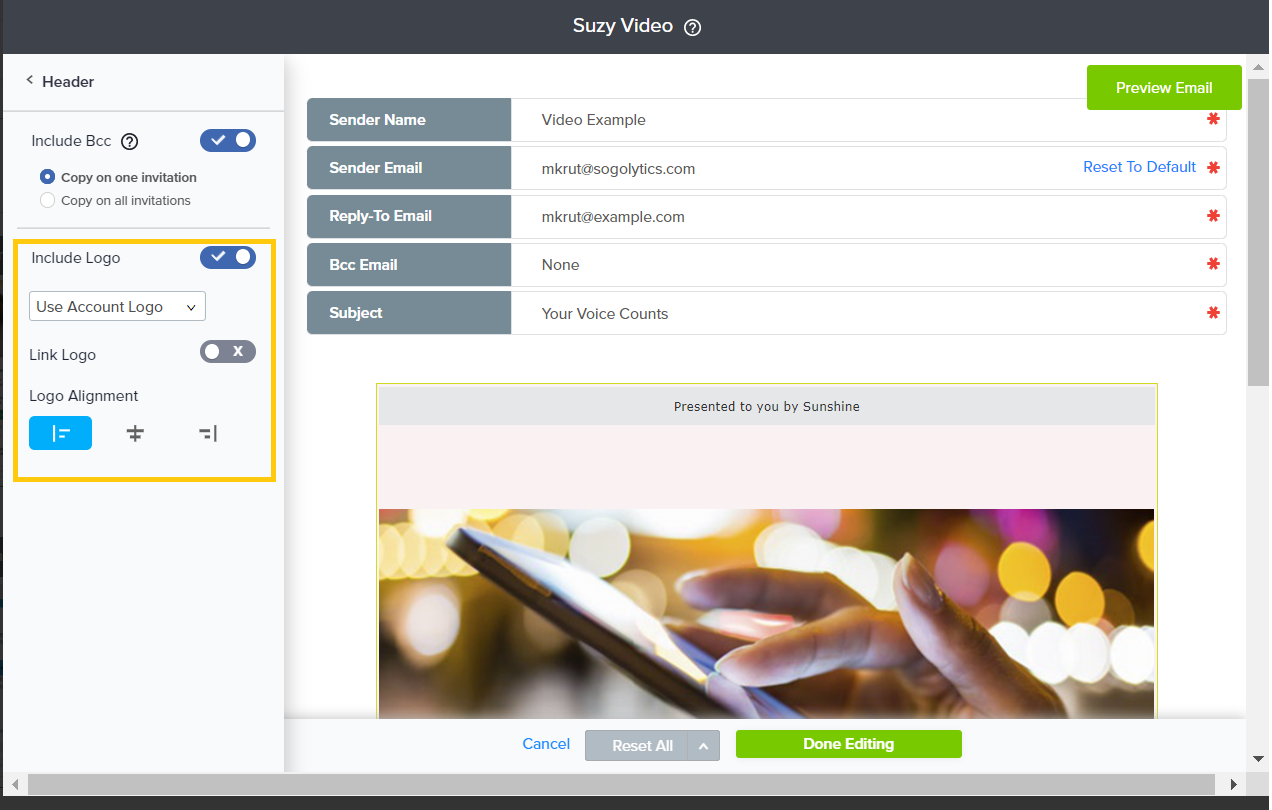
- To add a logo to your email invitation, click on Yes.
- From the dropdown, choose your source to browse and upload the image.
- You will see the update in the header section of your email preview.
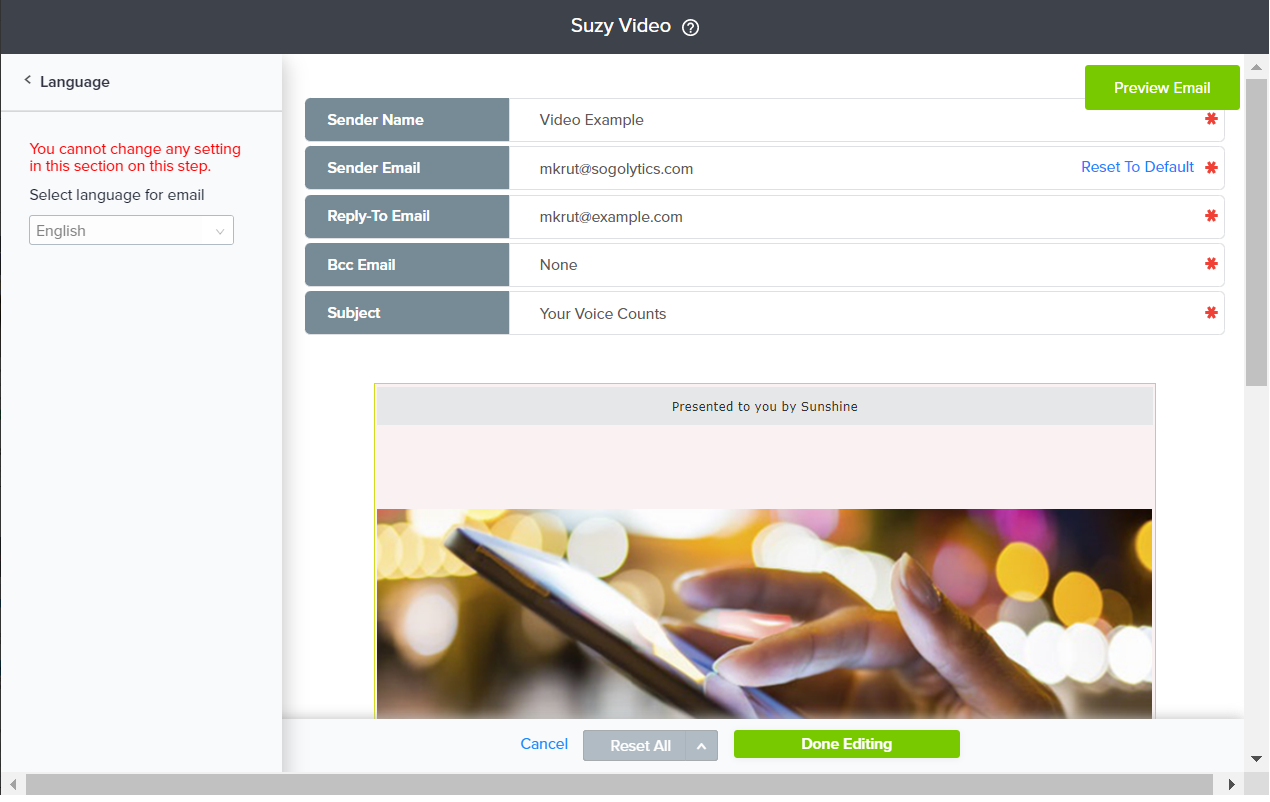
- Under the Language section, choose the language in which you wish to publish your survey. If you have chosen to publish a survey that appears in one language, that language will be pre-selected.
- To include Mail Merge in your invitation, Edit any section and apply Mail Merge from the editing menu. Mail Merge provides you with the opportunity to personalize invitations for each participant. When invitations are personalized with Mail Merge, participants are more likely to be engaged and response rates are likely to benefit.
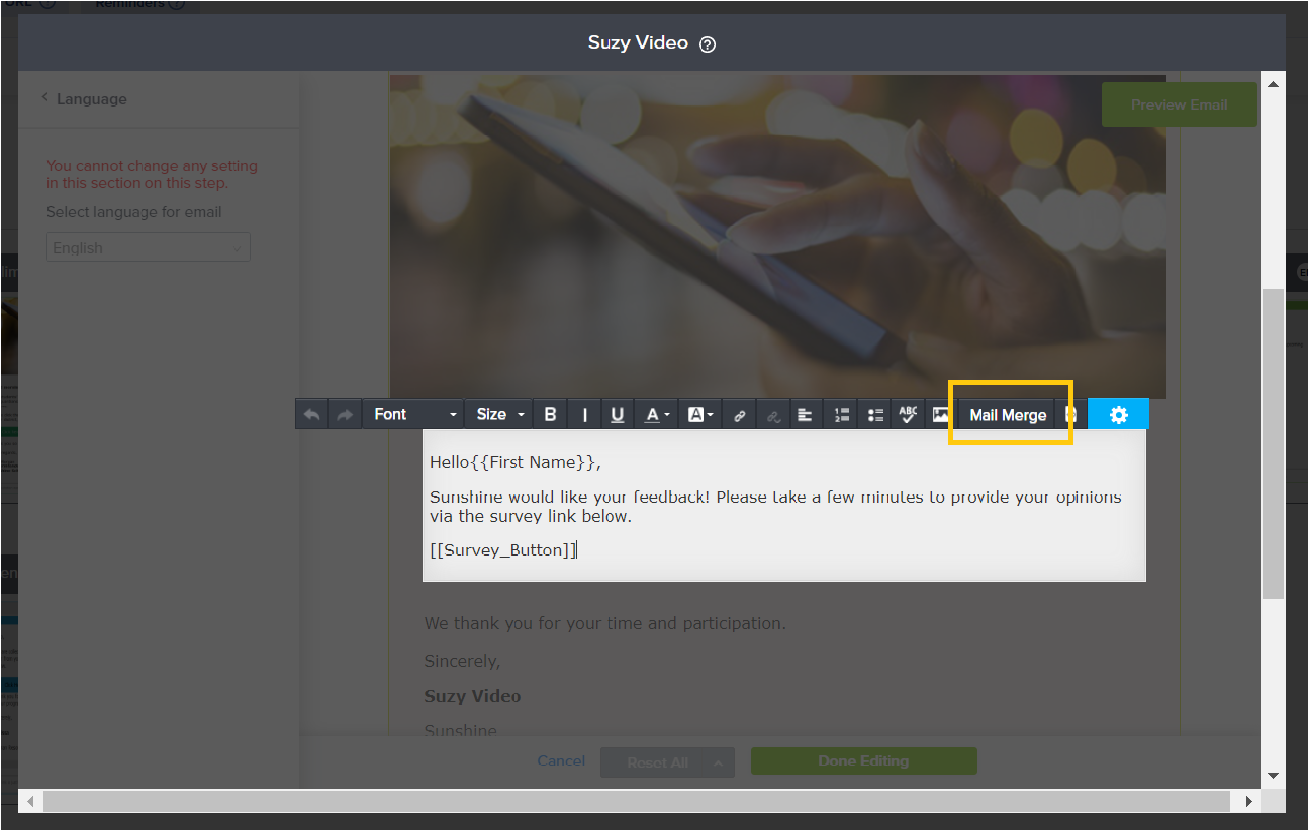
- Click on the content of the email and then select Mail Merge from the editing menu that appears.
- In the Select field dropdown, select field to use for Mail Merge.
- The Mail Merge code will be then displayed in the email body, like this: {{First Name}}.
- Select your survey and click Publish.
Using the Mail Merge feature requires that you have certain information for each invitee (first name, job title, etc.) already gathered in a list or a file.
- In the Footer section, choose to add any of these optional messages/features:
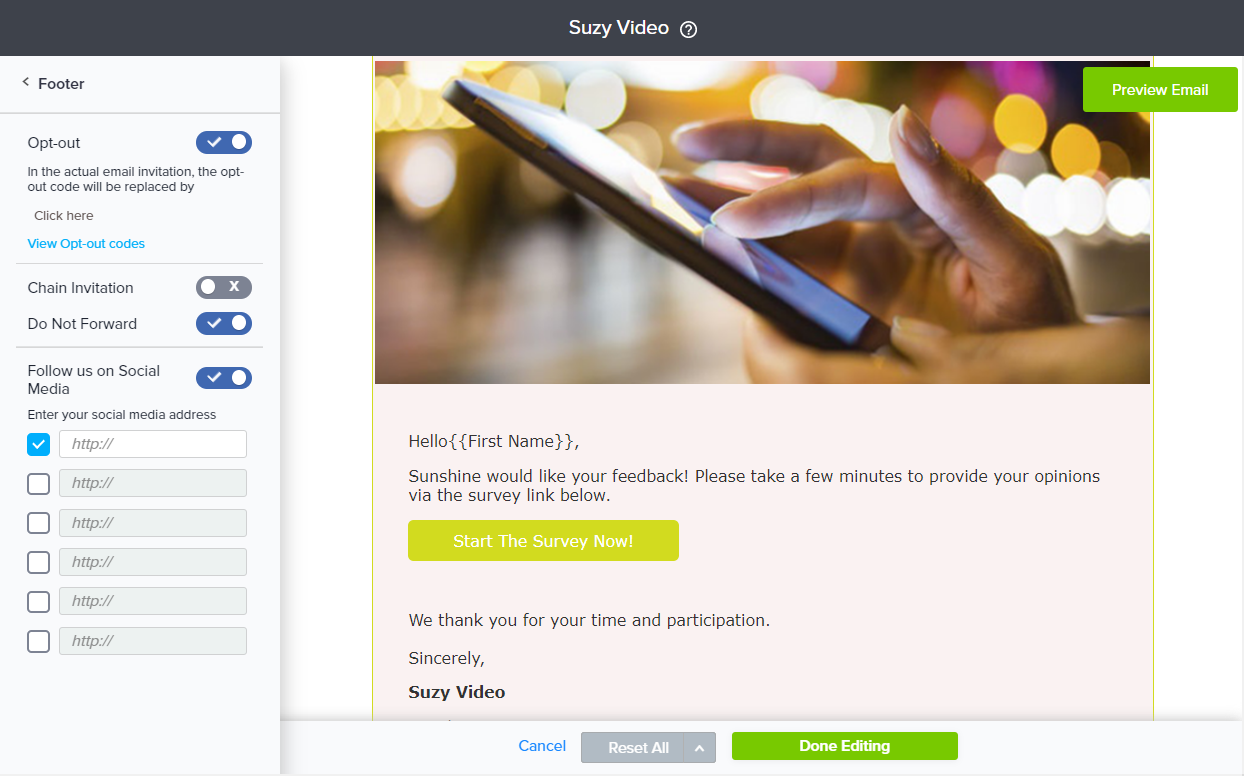
- Follow us on Social Media: This option allows you to share links to your social profiles with your subscribers or participants. Enable this option by switching the toggle to Yes and check the fields to add your social media addresses. Added social media links will appear to the right within the email footer as a ‘Follow us on’ section.
- Opt-out: You can allow recipients to opt out from the survey or opt out permanently. In the first case, you would no longer be able to send reminders after a recipient opted out from your survey. In the second case, you could never send these recipient reminders or any other invitations from your account.
- Chain Invitation: You can allow recipients to use this feature to forward the survey link to other invitees.
- Do Not Forward: Just to be cautious, you can use this footer note to make your recipients aware that unique invitation emails should not be forwarded.
- In the Color and Font section, customize the appearance of your invitation.

- Add colors to divider, border and background.
- Font settings selected from this section will be applied to the entire email invitation, overwriting any other settings applied.
- Edit the content of your email itself, as needed, including the participation links.
- Click on Done Editing, then choose your preferred option:
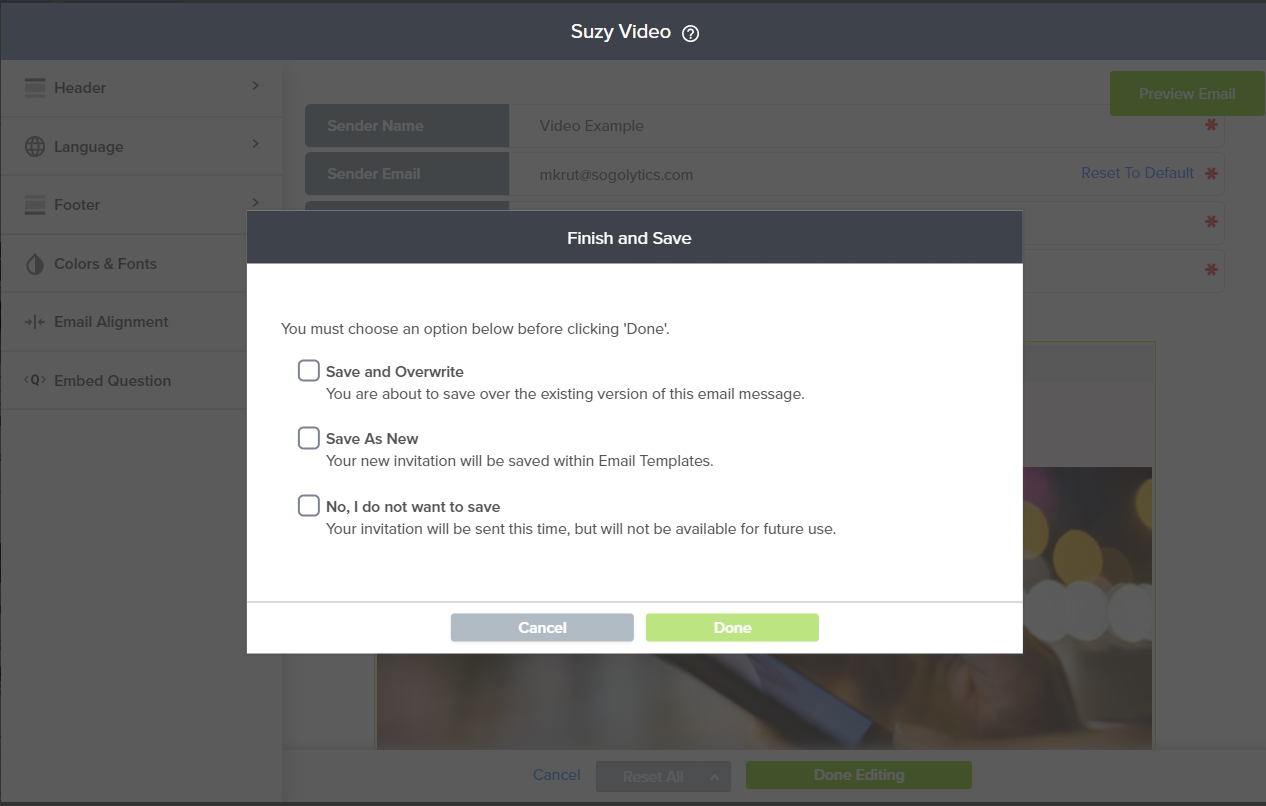
- Save and Overwrite: Replaces existing message
- Save as New: Creates a new messages
- No, I do not want to Save: Sends but does not save
- Continue through the publishing process to send your invitations.
Subscribe for tips and insights to drive better decisions!