

Link Responses to Directory
Enhance your survey experience by seamlessly connecting responses gathered from public platforms like QR codes, website feedback forms, or social media channels directly to your Directory. This innovative functionality provides unparalleled flexibility, enabling participants to effortlessly associate their data with diverse directory fields, thereby enhancing data analysis processes.
This feature is available only for Text Box question type. Additionally, this feature is visible only if the Directory has been enabled in your account.
To utilize this feature, follow the steps below:
- Create a project and add a Text Box question in the survey. This question will serve as the identifier, mapping the Directory data to the received response.
- While adding the question, navigate to the left-hand panel and click on Link Response to Directory
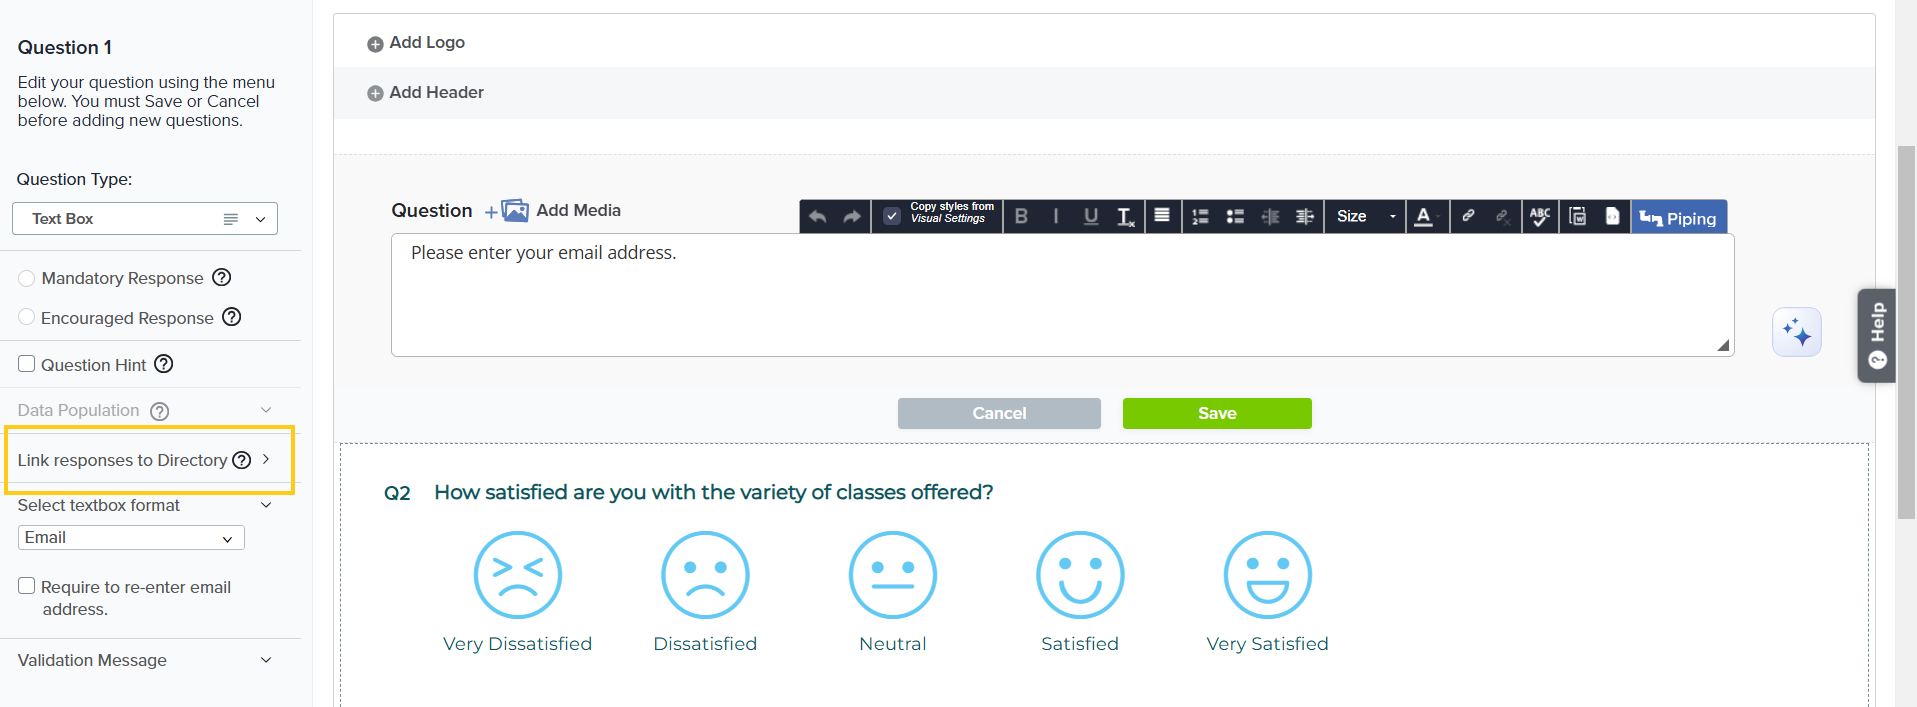 . You can also access this option from the three-dot menu available for already added questions on the design page.
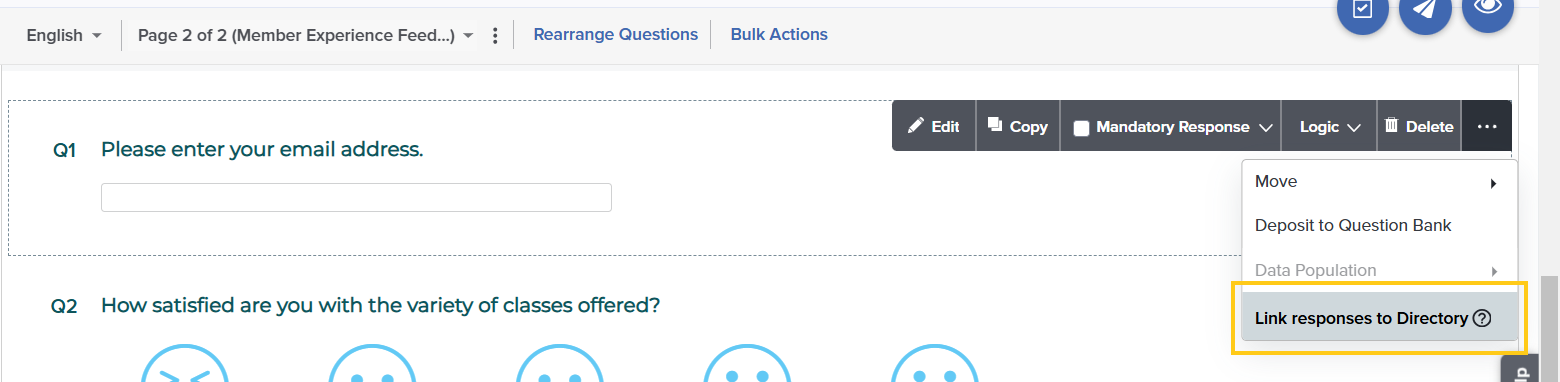
- Upon selecting this option, an introductory message explaining the feature will appear.
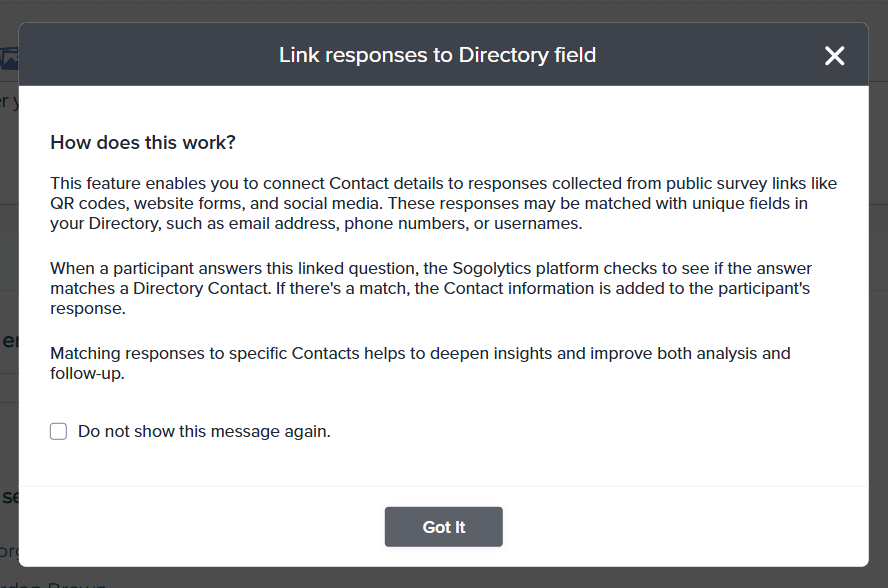
- After acknowledging the introductory message, a modal will open, allowing you to configure your Link Response to Directory settings.
- Next, select the contact type for which you want to link responses to the Directory. The available contact types are Respondent and Feedback Recipient:
- Respondent: Links directory data to the participant of the project.
- Feedback Recipient: Links Directory data to the contact receiving feedback as responses to this project.
In a survey, only one question can be linked to either of the contact types. Once a contact type is assigned to a question, it will be automatically disabled for all other compatible questions to ensure a single association.
- Select the Directory from which you want to link data.
- Choose the unique field from the Directory that will be used to compare the response of the linked question.
- Click Done. You can also click Reset to clear all applied settings and make new changes.

- Once you click Done, the Link Response to Directory settings will be applied.
- When a participant answers this linked question, the Sogolytics platform checks if the answer matches a Directory Contact. If a match is found, the contact information is automatically added to the participant’s response. You can view the linked data in Data exports.
Subscribe for tips and insights to drive better decisions!